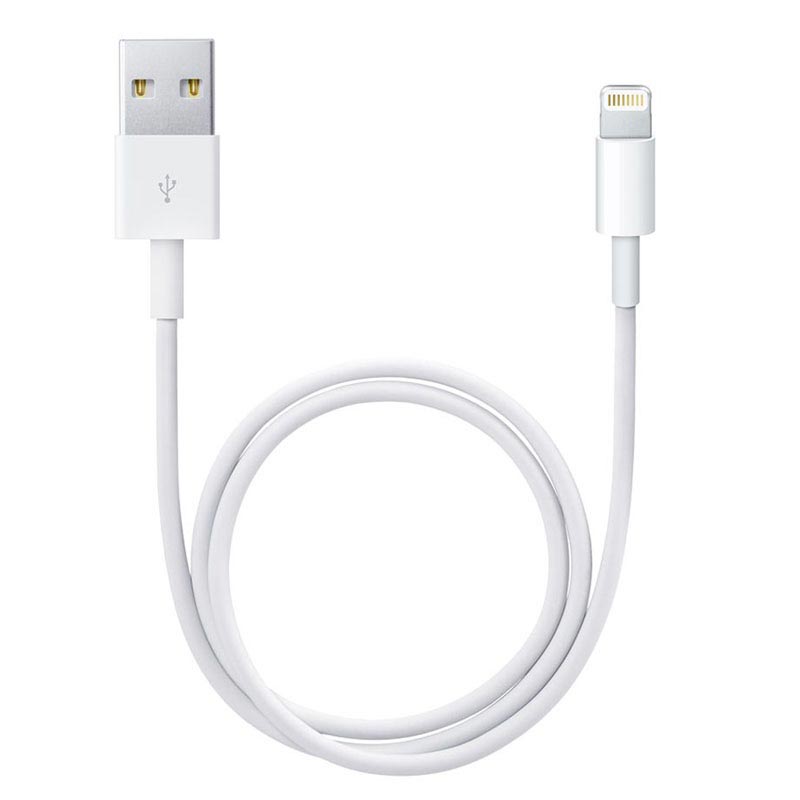
If the Printer is connected to the iPad with a cable, follow these steps:
1. If you open the cover on the back of the printer and check in which socket the cord for the iPad is inserted, is it on the socket that says iPad?
- If yes, then it is seated correctly.
- If not, then you move the cable to the socket marked with iPad.
(if you have moved it to the correct socket and you see that the iPad is charging, then you do not need to go further in the steps. Recommended is to also restart the app and make sure that it works.)
2. Try unplugging the power cable to the printer, both from the wall outlet and from the printer.
3. Unplug the cord from the iPad
4. Now connect the power cord to the printer, first in the printer, then in the iPad.
5. Turn off the app
6. Now connect the cord between the printer and the iPad (make sure you insert the cable into the correct socket in the printer, the one marked with the iPad)
7. Check if the iPad is now charging.
8. Launch the app.
9. Go to the menu at the bottom left (the three lines in the bottom left corner) and click on the printer marked Primary receipt printer (highlighted in green), and click on test print.
10. If a small piece of paper comes out with the word test on it, it is connected correctly and works again. if not, follow the remaining points at the bottom.
11. Press the printer again and click the Remove button.
12. Click on the start scan button which you will find on the same page.
13. Now a printer should appear (think it says dcp at the beginning of the printer) and then you click on it so that it ends up in added printers (which are on the same page.)
14. Click the printer again and select make primary receipt printer.
15. Click the printer and click test print.
16 Now a small piece of paper will come out with a test.
If the printer is connected with a network cable, follow these steps:
1. Turn off the printer by holding down the power button located on the far right of the front of the printer until you see the blue light go out.
2. Press and hold the eject button (which is the button to the left of the on / off button) while pressing the on / off button. Release the on / off button when it starts, but keep holding the eject button until the first paper comes out, then you can release that button.
3. 2 "notes" should come out and on one of them (think the other) there is an IP address (192.168.0.111) almost at the bottom of the paper.
4. Go to the iPad and click on the settings menu and click on printers.
5. To remove the printer, click the printer, and then click remove.
6. Click on start scan, and different printers will appear, then select the printer that has the same IP address as it says on the "bong" that you printed.
7. Click the printer and click Make primary receipt printer
8. Click the printer again and click test print. If this works, it is now connected, if not, contact us again for further exploration.
If you're still experiencing issues you can find more information about your printer by following this link!
If after these steps it still does not work, I ask you to email your case to servicecenter@baemingo.com
