In this article you will find information about how to create categories and orient yourself in PIM. PIM is developed so that you can create and update menus, articles, categories and much more in a quick and efficient manner.
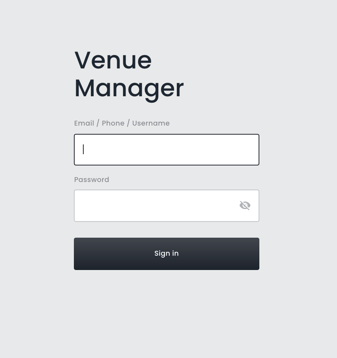
Step 1.Log in via https://vm.baemingo.se/
Enter your username and password.
Step 2.
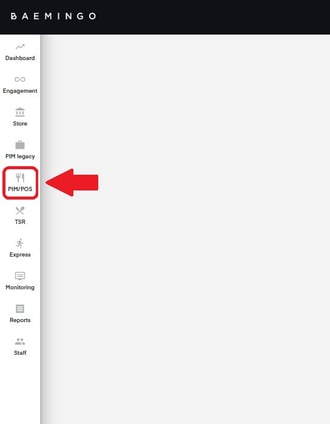
In the menu bar on the left, click PIM/POS.
Step 3.
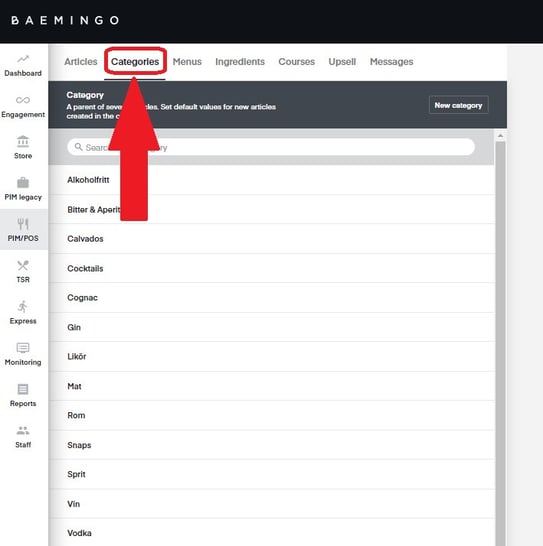
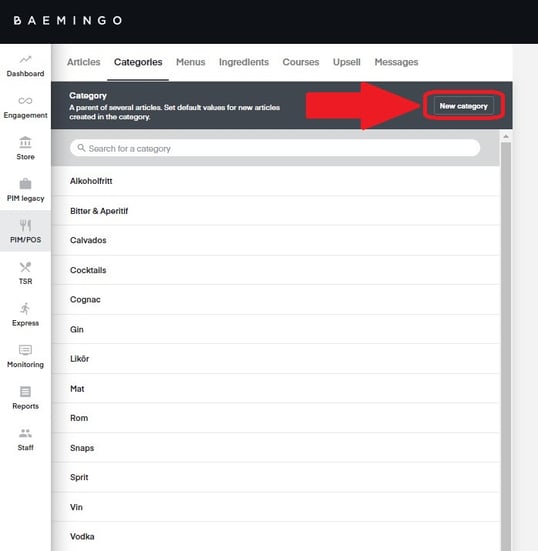
In the top menu bar, click "Categories". Here you get an overview of all the categories that have been entered previously. You can scroll or use the search field to find the desired category.
Step 4.
To create a new category, click on "New Category"
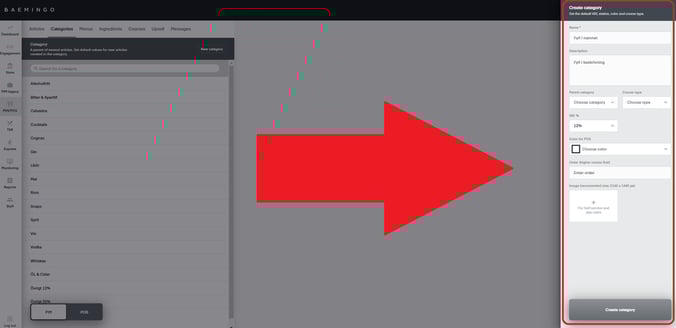
Step 5.
1. Enter the desired name for the category
2. If this is a subcategory of a previously specified category, you can specify here which master category this category should belong to.
3. If you work with course types such as FR, VR, DS, you can enter the desired course type for this category here. All articles in this category will then automatically receive the specified course type. (Manual for creating course type can be found HERE)
4. Enter the desired VAT for the category.
5. Here you can choose which color you want to associate with the category. All articles included in the category will then automatically be given this color. This will therefore be the color with which the articles in the category are displayed in the checkout.
6. Click "Create category" to save your work.